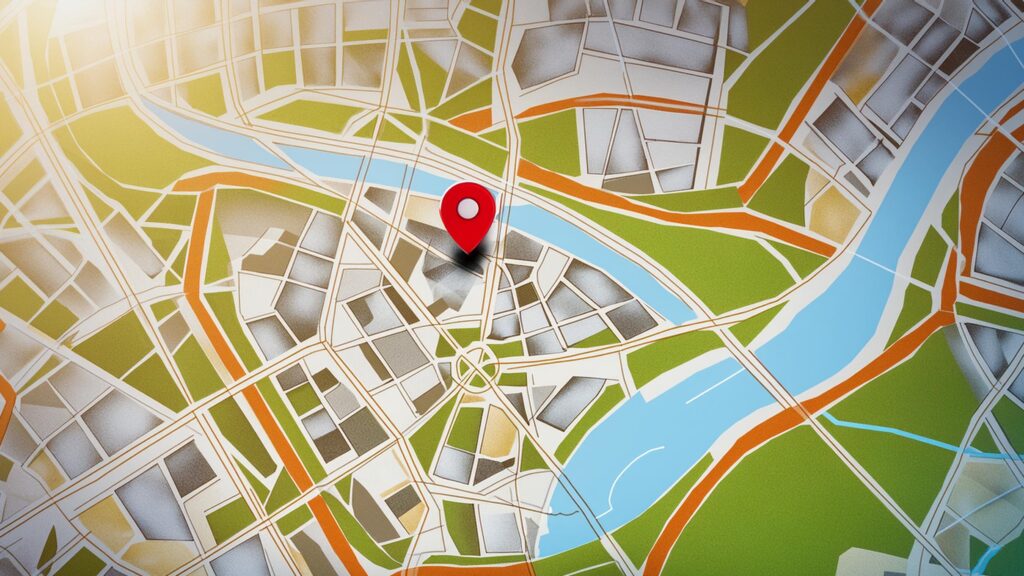
The Google Maps Add-on is a powerful wrapper component around the Google Maps Web Component. This add-on allows you to display a customized map and incorporate various map-related elements such as markers, polygons, custom controls and more. You can explore all the features the add-on provides in our online demo. For now, we’ll focus on how to obtain and track the user’s current location.
Before we move forward, it’s important to note that the add-on’s API is open source and freely available for anyone to use, but remember that you need to have your own API Key in order to use Google Maps services. For guidance on creating an API Key, refer to the Google Maps documentation.
Go to Current Location
With a simple method call: goToCurrentLocation() you can get the user’s current geographic location and make the map to place its center in that location.
However, the geographic location will only be displayed if the user grants permission to share their location. The browser will prompt the user to allow location access when this function is called.
How It Works
The magic behind this functionality lies in the browser’s HTML5 Geolocation API. When the user triggers the geolocation request through the invocation of goToCurrentLocation(), the method navigator.geolocation.getCurrentPosition() is called in the background. This retrieves the device’s geographic location and sends the response back to the server, enabling the add-on API to handle it.
When the server receives a successful response, it obtains the latitude and longitude values representing the user’s current location and sets these values as the center of the map. Additionally, it fires a CurrentLocationEvent. You can add a listener for this event to perform actions such as adding markers or executing other actions when the location is set.
To find the exact location, you can call the getCenter() method, which returns the current center of the map in terms of latitude and longitude.
To handle errors that may occur when trying to retrieve the user’s location, the add-on’s API provides a GeolocationErrorEvent listener. This listener allows you to control the behavior if an error occurs, such as displaying a notification to the user.
Current Location Example
Here’s a detailed example on how you can implement this in your Vaadin application:
1. Initialize the map: instantiate Google Maps component and add it to the view.
GoogleMap gmaps = new GoogleMap("YOUR_API_KEY", null, null);
gmaps.setMapType(MapType.ROADMAP);
gmaps.setSizeFull();
add(gmaps);
2. Create a “Go to Current Location” Button: when clicked, it will trigger the goToCurrentLocation() method call and, if it succeeds, it will center the map on the user’s current location.
 Button currentLocationButton = new Button("Go to current location",
        VaadinIcon.CROSSHAIRS.create(), e -> gmaps.goToCurrentLocation());
3. Add a Marker on Current Location: with the help of CurrentLocationEvent listener, add a marker to indicate the current location on the map.
 gmaps.addCurrentLocationEventListener(e -> gmaps
        .addMarker(new GoogleMapMarker("You are here!", gmaps.getCenter(), false, Markers.GREEN)));
4. Handle Geolocation Errors: add a GeolocationErrorEvent listener to display a notification to the user, indicating whether the browser does not support geolocation or if there was another issue retrieving the location (for instance, if the user denies permission).
gmaps.addGeolocationErrorEventListener(e ->
    Notification.show(e.isBrowserHasGeolocationSupport()
        ? "The geolocation service failed to retrieve your location."
        : "Your browser doesn't support geolocation.")
);
5. Using Custom Controls: user interaction can be enhanced by adding buttons or other controls directly on the map for a more integrated user experience. For example, instead of placing the button to trigger the current location update on the view, you can add it to the map. With this code, the button will be placed at the top center of the map. The position is being given by the ControlPosition value. See more information on the supported control positions here.
CustomControl geolocationControl = new CustomControl(currentLocationButton, ControlPosition.TOP_CENTER);
gmaps.setCustomControls(geolocationControl);
Then, the complete example will look like this:
import com.flowingcode.vaadin.addons.googlemaps.ControlPosition;
import com.flowingcode.vaadin.addons.googlemaps.CustomControl;
import com.flowingcode.vaadin.addons.googlemaps.GoogleMap;
import com.flowingcode.vaadin.addons.googlemaps.GoogleMap.MapType;
import com.flowingcode.vaadin.addons.googlemaps.GoogleMapMarker;
import com.flowingcode.vaadin.addons.googlemaps.Markers;
import com.vaadin.flow.component.button.Button;
import com.vaadin.flow.component.icon.VaadinIcon;
import com.vaadin.flow.component.notification.Notification;
import com.vaadin.flow.component.orderedlayout.VerticalLayout;
import com.vaadin.flow.router.Route;

@Route("currentlocation")
public class GoToCurrentLocationView extends VerticalLayout {

    public GoToCurrentLocationView() {
        GoogleMap gmaps = new GoogleMap("YOUR_API_KEY", null, null);
        gmaps.setMapType(MapType.ROADMAP);
        gmaps.setSizeFull();
        add(gmaps);

        Button currentLocationButton = new Button("Go to current location",
        VaadinIcon.CROSSHAIRS.create(), e -> gmaps.goToCurrentLocation());

        gmaps.addCurrentLocationEventListener(e -> gmaps
        .addMarker(new GoogleMapMarker("You are here!", gmaps.getCenter(), false, Markers.GREEN)));

        gmaps.addGeolocationErrorEventListener(e ->
            Notification.show(e.isBrowserHasGeolocationSupport()
                ? "The geolocation service failed to retrieve your location."
                : "Your browser doesn't support geolocation.")
        );

        CustomControl geolocationControl = new CustomControl(currentLocationButton, ControlPosition.TOP_CENTER);
        gmaps.setCustomControls(geolocationControl);
    }
}
Please keep in mind that if we want the “Go to Current Location” custom control button to look similar to the other controls from the map, we need to play around with CSS. See the applied styles here.
Find the complete example and try it live in our online demo site.
Tracking the Current Location
In addition to obtaining the current location, the Google Maps Add-on allows you to track the user’s current location. This can be achieved with two simple methods: trackLocation() to start the tracking and stopTrackLocation() to stop the tracking.
How It Works
Similar to retrieving the current location, tracking relies on the browser’s HTML5 Geolocation API. When the user initiates location tracking by calling the API method trackLocation(), the method navigator.geolocation.watchPosition() is called in the background. This method continuously tracks the device’s geographic location and sends the updates back to the server, enabling the add-on API to handle them. When first invoked, it returns the track ID of the tracking session that is starting. The component saves this value internally.
When the user triggers the request to stop the tracking through the API method stopTrackLocation(),navigator.geolocation.clearWatch(id) handles the call using the track ID of the current tracking session to finalize it.
The API also provides a LocationTrackingActivatedEvent that is fired when location tracking is activated. You can add a listener for this event to perform actions upon tracking activation, such as notifying the user that tracking has started.
It’s important to note that only one tracking session can be started at a time. If there is an attempt to start a second session while the first is already running, an IllegalStateException will be thrown.
As mentioned before, getting the geographic location would only be possible if the user grants permission to share their location.
Track Location Example
Here is an example to demonstrate how you can implement location tracking in your Vaadin application:
1. Initialize the map: instantiate Google Maps component and add it to the view.
GoogleMap gmaps = new GoogleMap("YOUR_API_KEY", null, null);
gmaps.setMapType(MapType.ROADMAP);
gmaps.setSizeFull();
gmaps.setZoom(15);
add(gmaps);
2. Create Buttons for Starting and Stopping Location Tracking: create a button that, when clicked, will call trackLocation() method to start the tracking. Then create a second button that, when clicked, will call stopTrackLocation() method to stop tracking. Add the buttons to the view. (These buttons can be added as custom controls if you wish so).
Button startLocationTrackingButton = new Button("Start tracking my location");
Button stopLocationTrackingButton = new Button("Stop tracking my location");
startLocationTrackingButton.addClickListener(e -> {
  gmaps.trackLocation();
  stopLocationTrackingButton.setEnabled(true);
});
startLocationTrackingButton.setDisableOnClick(true);
stopLocationTrackingButton.addClickListener(e -> {
  gmaps.stopTrackLocation();
  startLocationTrackingButton.setEnabled(true);
});
stopLocationTrackingButton.setEnabled(false);
stopLocationTrackingButton.setDisableOnClick(true);
add(new HorizontalLayout(startLocationTrackingButton, stopLocationTrackingButton));
3. Create a Marker to Track Location: this marker will help us to point out the user’s location on the map.
GoogleMapMarker locationMarker = new GoogleMapMarker();
locationMarker.setCaption("You're here");
locationMarker.setDraggable(false);
gmaps.addMarker(locationMarker);
4. Add Listener to Know When Tracking Location is Activated (Optional):
gmaps.addLocationTrackingActivatedEventListener(ev -> {
  Notification
      .show("Location tracking was activated with track id: " + gmaps.getTrackLocationId());
  });
5. Add Listener to Update Marker Position: the CurrentLocationEvent listener we presented in the previous example will help us to update the marker’s position to the user’s current location whenever the location is updated.
gmaps.addCurrentLocationEventListener(e -> {
   locationMarker.setPosition(e.getSource().getCenter());
});
6. Handle Geolocation Errors: as in the previous example, we could use the GeolocationErrorEvent listener to display a notification to the user if any problem arise when trying to retrieve the location.
gmaps.addGeolocationErrorEventListener(e -> Notification.show(e.isBrowserHasGeolocationSupport()
   ? "The geolocation service failed on retrieving your location."
   : "Your browser doesn't support geolocation."));
Finally, the complete example will look like this:
import com.flowingcode.vaadin.addons.googlemaps.GoogleMap;
import com.flowingcode.vaadin.addons.googlemaps.GoogleMap.MapType;
import com.flowingcode.vaadin.addons.googlemaps.GoogleMapMarker;
import com.vaadin.flow.component.button.Button;
import com.vaadin.flow.component.notification.Notification;
import com.vaadin.flow.component.orderedlayout.HorizontalLayout;
import com.vaadin.flow.component.orderedlayout.VerticalLayout;
import com.vaadin.flow.router.Route;

@Route(value = "tracklocation")
public class TrackLocationView extends VerticalLayout {

    private Integer trackLocationId = null;

    public TrackLocationView() {
      GoogleMap gmaps = new GoogleMap("YOUR_API_KEY", null, null);
      gmaps.setMapType(MapType.ROADMAP);
      gmaps.setSizeFull();
      gmaps.setZoom(15);
      add(gmaps);

      Button startLocationTrackingButton = new Button("Start tracking my location");
      Button stopLocationTrackingButton = new Button("Stop tracking my location");
      startLocationTrackingButton.addClickListener(e -> {
        gmaps.trackLocation();
        stopLocationTrackingButton.setEnabled(true);
      });
      startLocationTrackingButton.setDisableOnClick(true);
      stopLocationTrackingButton.addClickListener(e -> {
        gmaps.stopTrackLocation();
        startLocationTrackingButton.setEnabled(true);
      });
      stopLocationTrackingButton.setEnabled(false);
      stopLocationTrackingButton.setDisableOnClick(true);
      add(new HorizontalLayout(startLocationTrackingButton, stopLocationTrackingButton));

      GoogleMapMarker locationMarker = new GoogleMapMarker();
      locationMarker.setCaption("You're here");
      locationMarker.setDraggable(false);
      gmaps.addMarker(locationMarker);

      gmaps.addLocationTrackingActivatedEventListener(ev -> {
        Notification
          .show("Location tracking was activated with track id: " + gmaps.getTrackLocationId());
      });

      gmaps.addCurrentLocationEventListener(e -> {
        locationMarker.setPosition(e.getSource().getCenter());
      });

      gmaps.addGeolocationErrorEventListener(e -> Notification.show(e.isBrowserHasGeolocationSupport()
          ? "The geolocation service failed on retrieving your location."
          : "Your browser doesn't support geolocation."));
    }
  }
You can check the example in action in our online demo site.
Conclusion
As we just saw, integrating the Google Maps Add-on into your Vaadin application provides powerful geolocation capabilities with minimal effort.
Find more information about existing versions and supported Vaadin versions on Vaadin’s Directory site. Currently, the add-on is available for Vaadin versions 14, 23, and 24.
If you think these features or any other feature of the add-on could be enhanced, please let us know by reporting an issue on the GitHub repository.
Visit our open source section to learn more about all our Vaadin add-ons.
Thanks for reading and keep the code flowing!


Join the conversation!